
Want to customize your jacket, jeans, or backpack with iron on patches? This complete guide shows you exactly how to iron on a patch perfectly every time – no sewing required.
What You Need
- Your iron-on patch (like our character patches)
- A household iron (NOT a steamer)
- A thin cotton cloth or parchment paper
- A hard, flat surface (ironing board or table)
- The garment you want to patch
Step-by-Step: How to Iron On a Patch
Step 1: Prepare Your Garment
Make sure the garment is clean and wrinkle-free. Pre-heat the area where you will place the patch by pressing with your iron for 5 seconds. This removes moisture and helps the adhesive bond.
Step 2: Position the Patch
Place your iron on patch exactly where you want it, adhesive side down. Take your time with placement – once pressed, it is harder to reposition.
Step 3: Cover With Cloth
Place a thin cotton cloth or parchment paper over the patch. This protects both the patch and your iron from direct heat damage.
Step 4: Press With Iron
Set your iron to the cotton/high heat setting (no steam). Press firmly straight down onto the patch for 15-20 seconds. Do not slide the iron – apply steady, even pressure.
Step 5: Press From Behind
Turn the garment inside out and press from the back for another 15 seconds. This ensures the adhesive fully melts into the fabric fibers.
Step 6: Let It Cool
Allow the patch to cool completely before touching or wearing. The adhesive needs time to set. Check the edges – if any lift, repeat the pressing process.
Best Fabrics for Iron On Patches
| Fabric | Works? | Notes |
|---|---|---|
| Cotton | Excellent | Best fabric for iron on patches |
| Denim | Excellent | Classic choice for jackets and jeans |
| Canvas | Great | Perfect for bags and backpacks |
| Polyester | Good | Use medium heat to avoid melting |
| Nylon | Caution | Low heat only – can melt |
| Leather | No | Use fabric glue instead |
| Waterproof fabrics | No | Adhesive cannot bond to coated surfaces |
Tips for Making Iron On Patches Last
- Sew the edges – For maximum durability, add a few stitches around the border after ironing
- Turn inside out when washing – This protects the patch from friction in the wash
- Wash cold, air dry – Heat from dryers can weaken the adhesive over time
- Re-press periodically – If edges start lifting, simply re-iron with the cloth barrier
Where to Find Cute Iron On Patches
Our embroidered iron-on patches feature adorable original character designs:

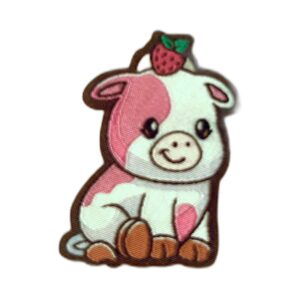
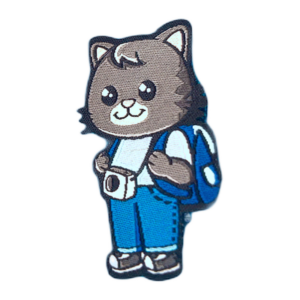
- Curry the Red Panda Patch – vibrant embroidered red panda ($7.00)
- Kayla the Strawberry Cow Patch – sweet strawberry cow embroidery ($7.00)
- Skimble the Cat Patch – cute cat with camera ($7.00)